Working with R
R is a programming language designed for statistical computing and graphics creation, so it is excellent when it comes to analyzing large sets of data and creating visualisations from it– which tends to be a big part of our work in digital humanities! The language was designed by and for statisticians and data analysts, thus many of those with little or no experience with programming find R a bit easier to understand and use than other programming languages. In this class, you can choose to use Python, R, or both! It’s just a matter of figuring out what works best for you.
Install R
R can be installed like any other software you’d install on your computer. Follow this link to go to the CRAN (Comprehensive R Archive Network) home page, then choose your OS to be taken to the appropriate R download for your machine.
If you’re on macOS, you can also use Homebrew to install R– just run:
brew install r
Installing & Using RStudio
We CAN use R from the R Console which was likely installed alongside R on your machine, but most people prefer to use RStudio, which can be downloaded here (we want the desktop version). RStudio is an integrated development environment (IDE) for R, which means it lets you do everything you can with R all from one place on your computer!
Working in RStudio
So you have everything installed, you launch RStudio on your computer, and you see this:
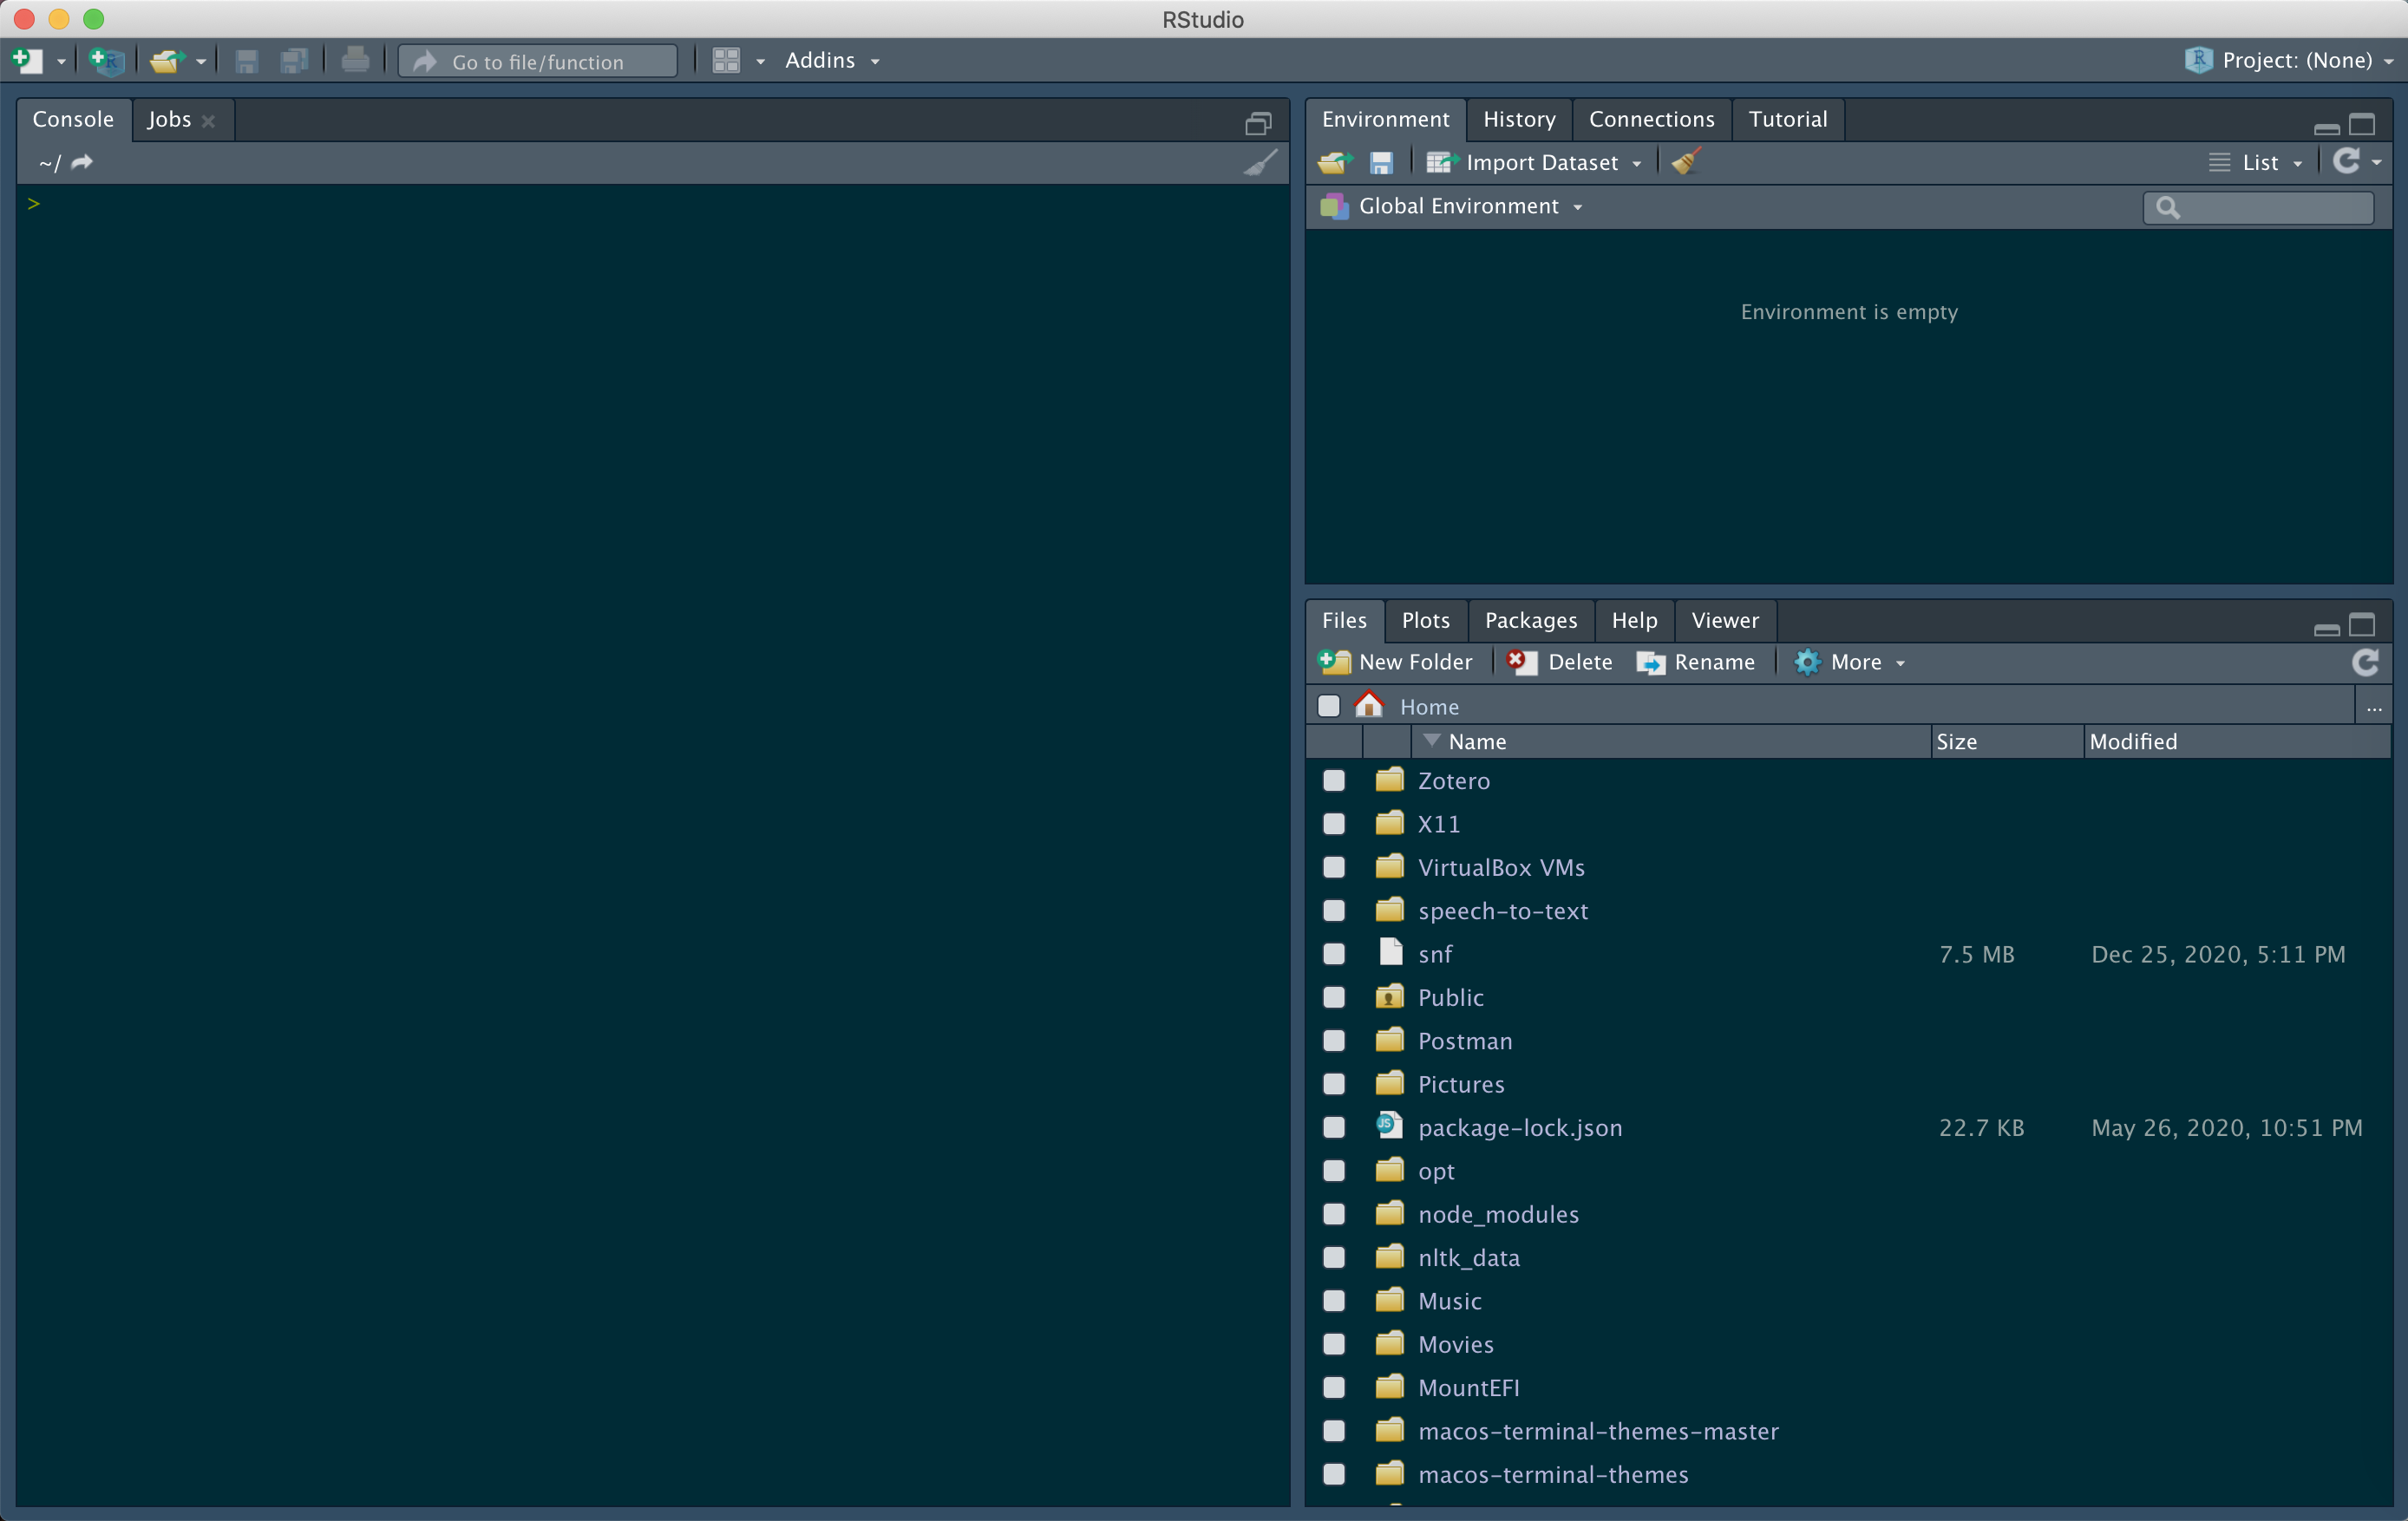
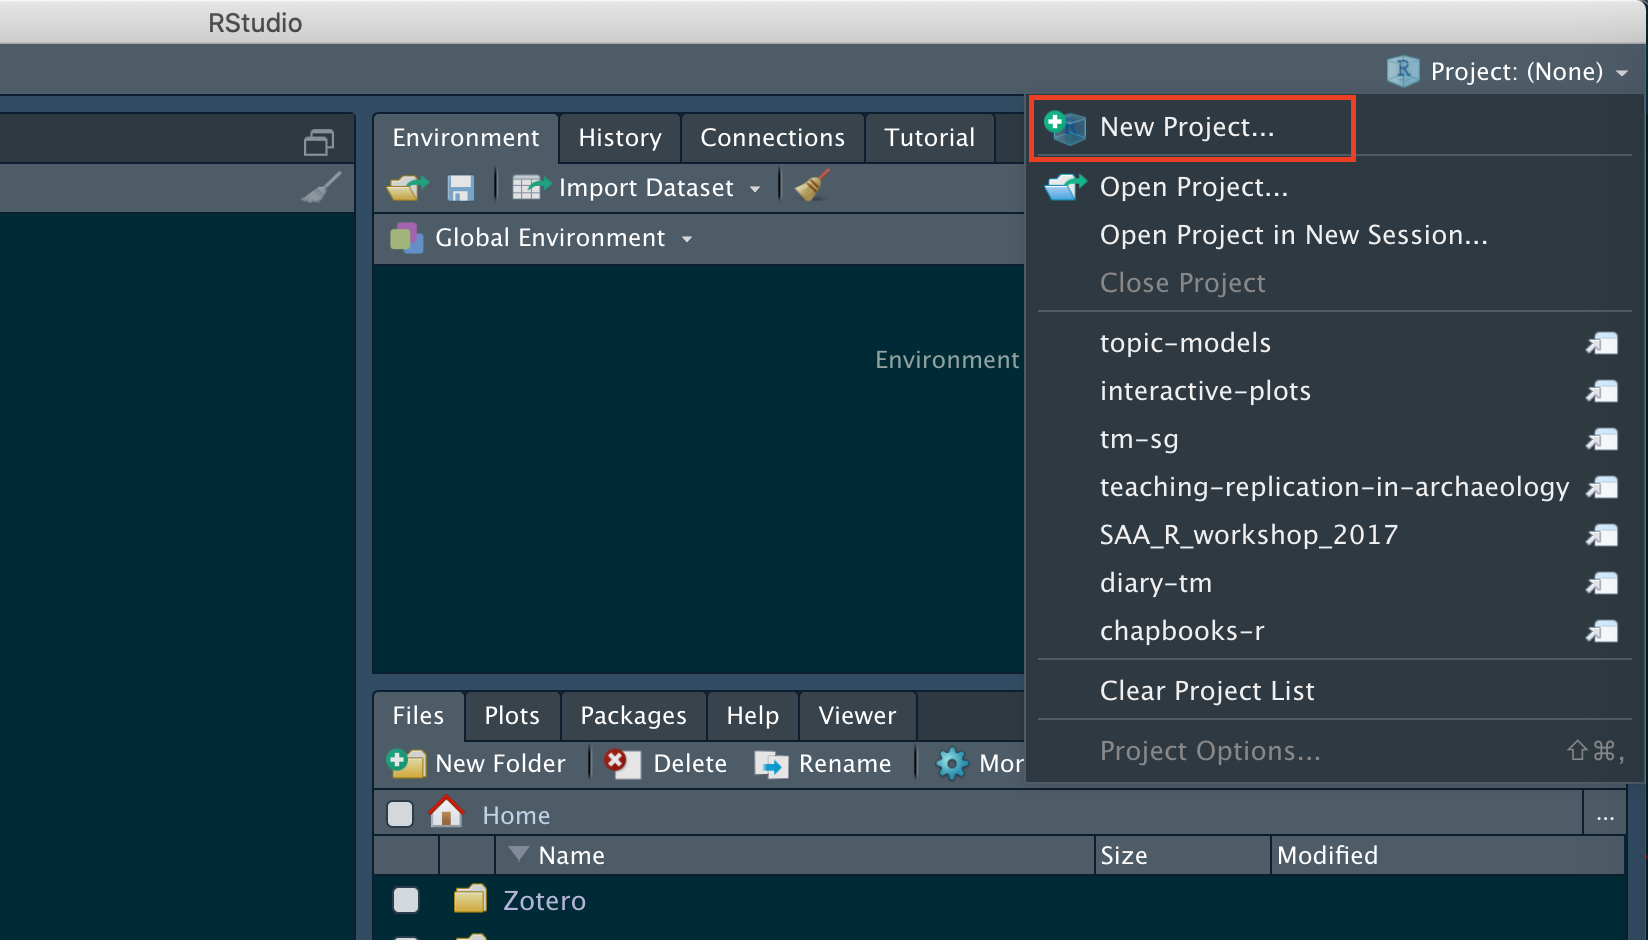
Kind of intimidating, maybe, so let’s take a more detailed look at all the parts you’ll need to know. To write a program in R, you need to create a new R Project, which can be done by:
- Going to the upper right corner of RStudio where it says
Project: (None) - Selecting “New Project”, then:
a.New Directoryif you don’t already have a folder created with some data you want to analyze in it.
b.Existing Directoryif you already have a folder on your computer you want to work in aka a folder with the data you want to analyze.
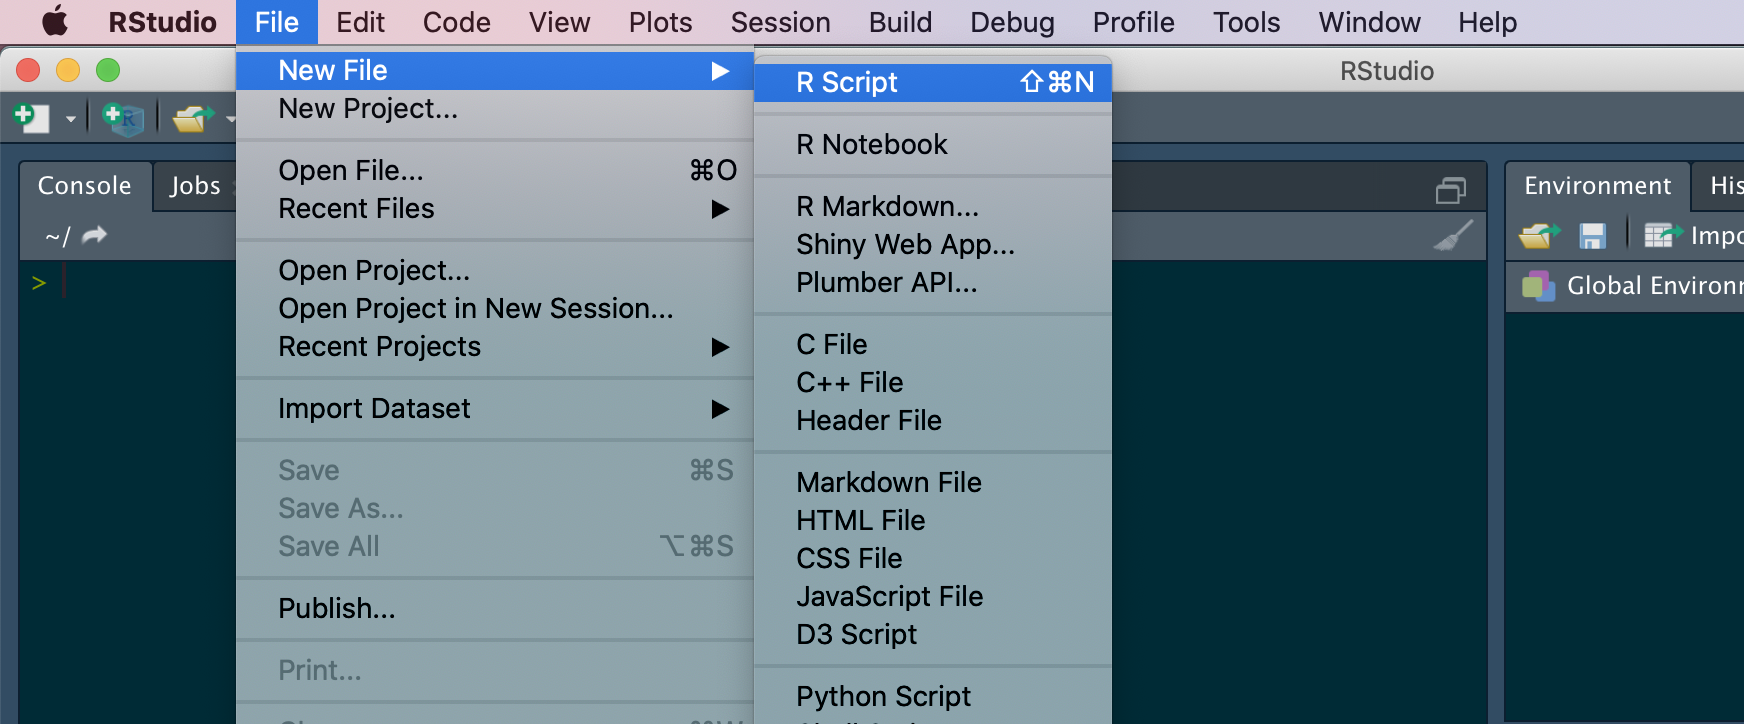
You’ll then want an R Script– a place where you can actually write code! This can be done by selecting File from the top menu bar, then going down to New File and finally selecting the R Script option.
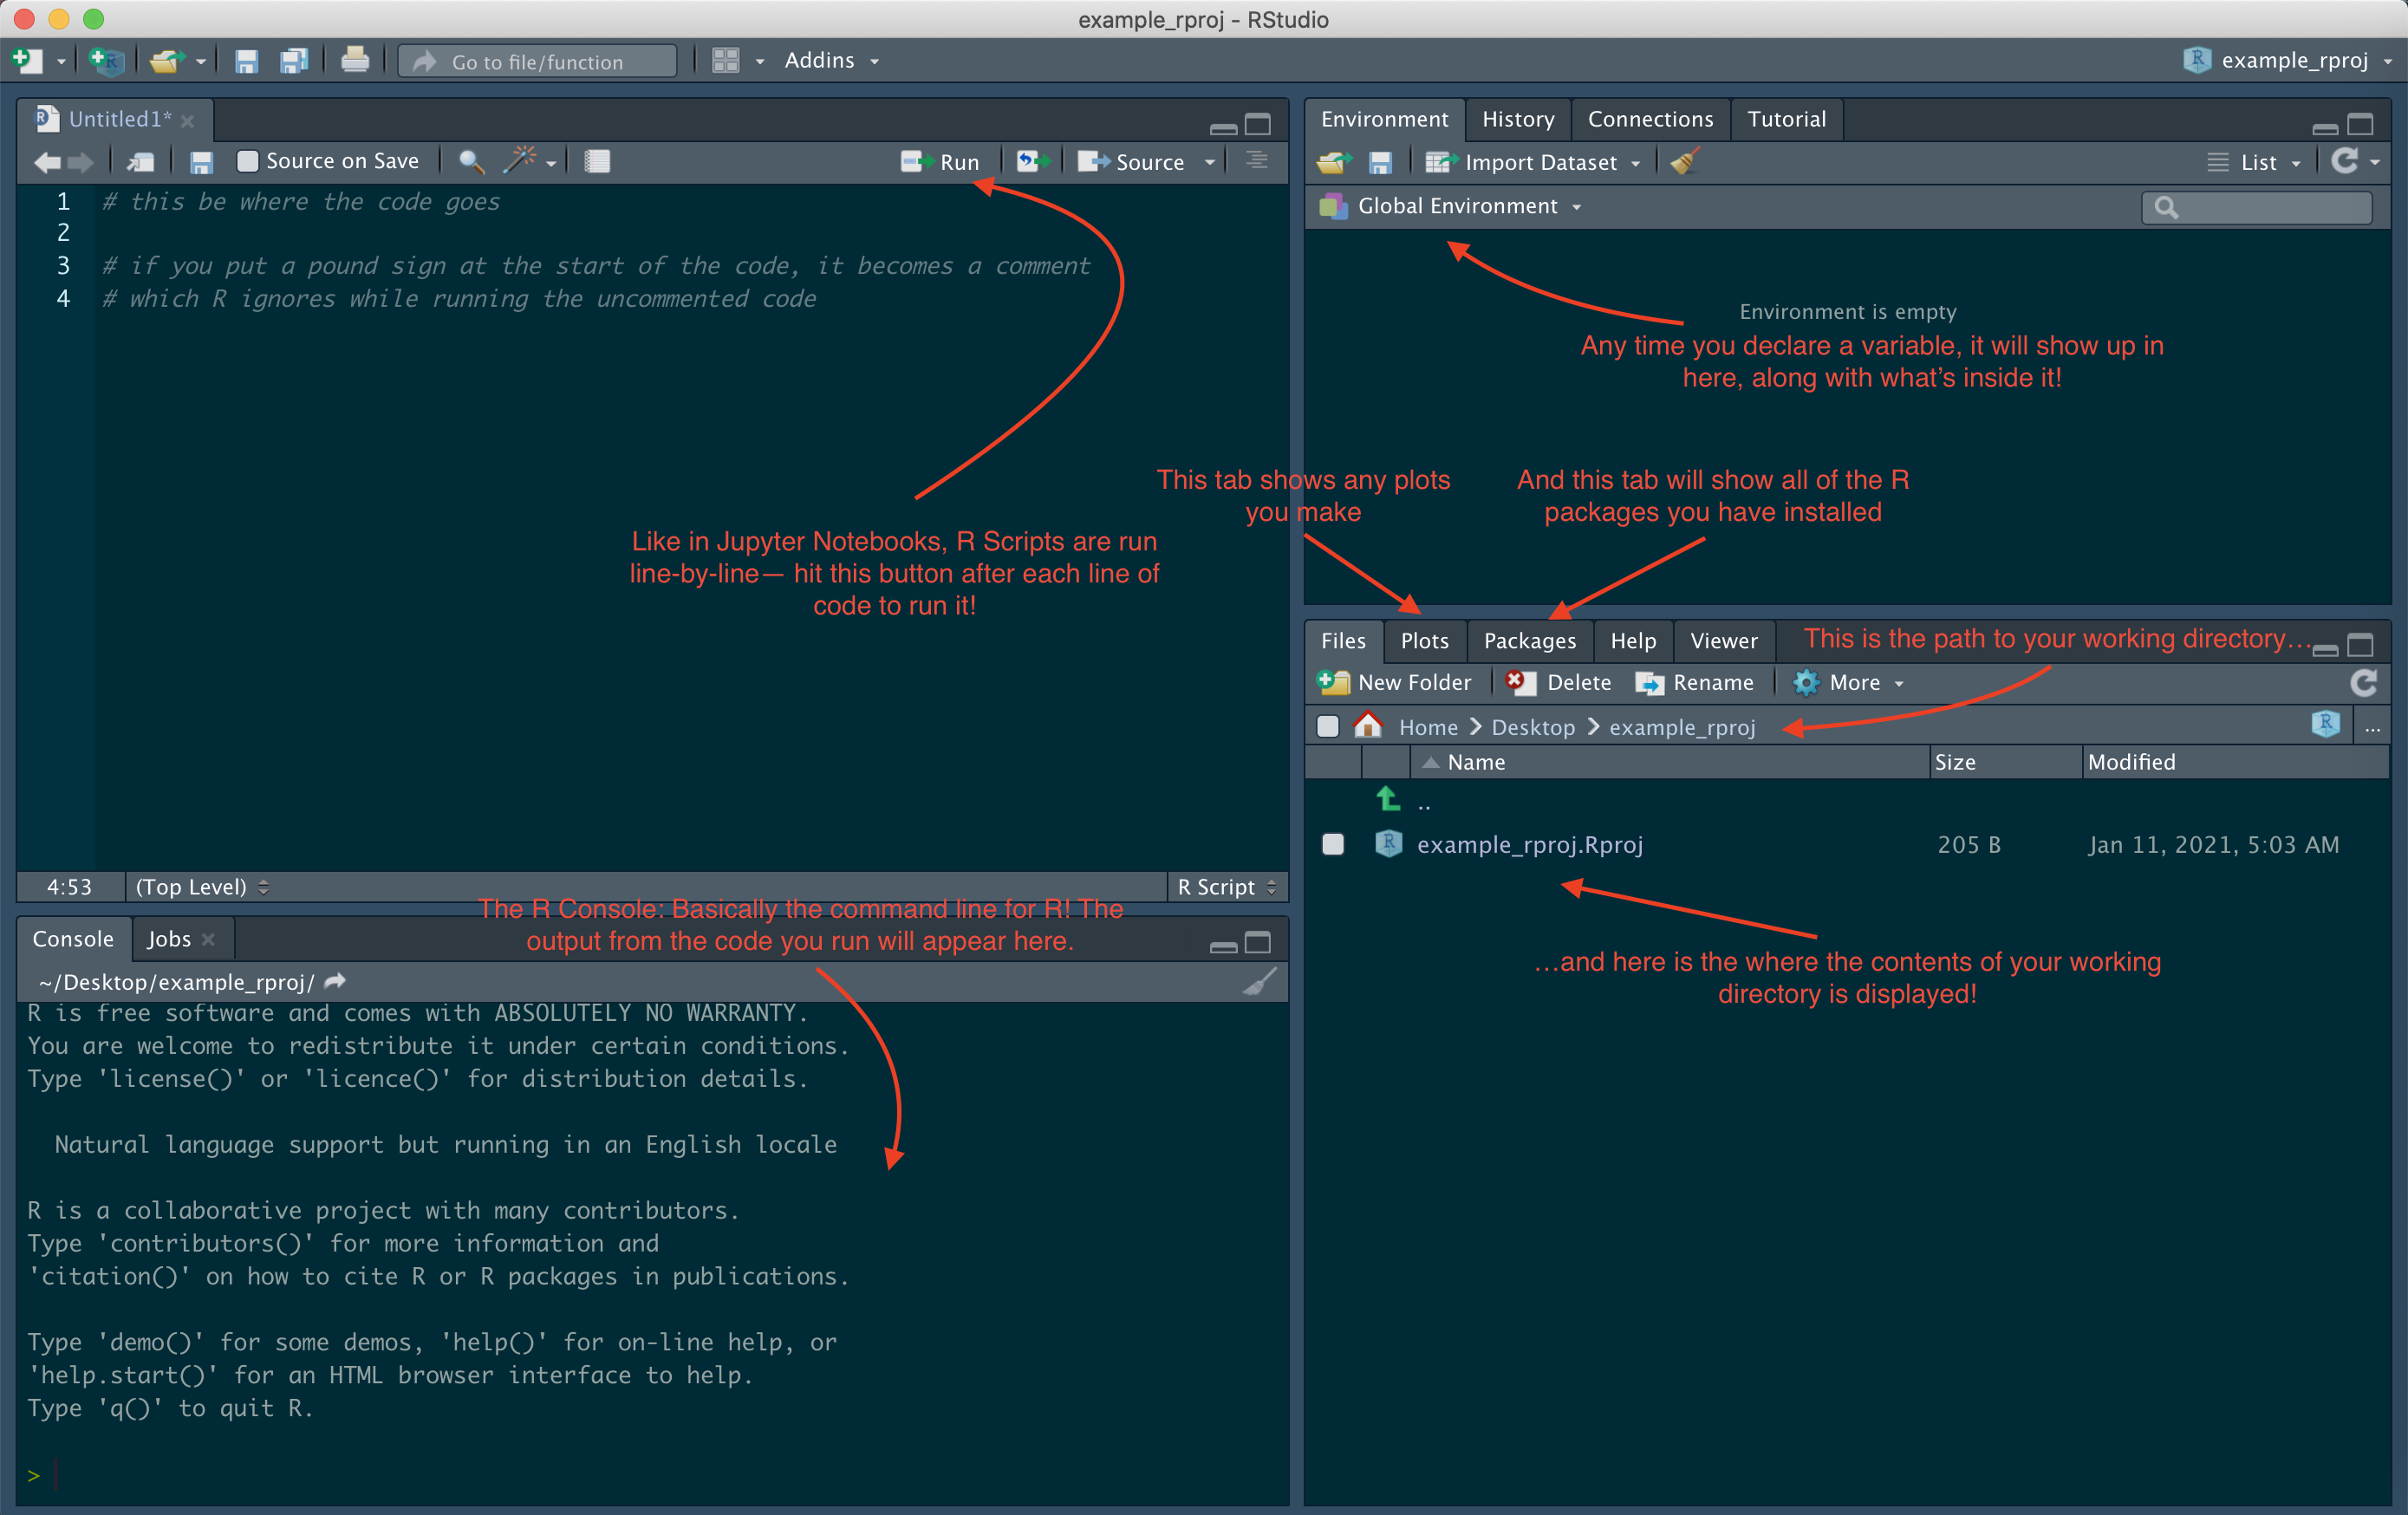
Now that you’ve done that and you (should) have an extra pane, shall we go on a little tour?
It might still seem a bit confusing, and that’s okay, because this is all brand new for you! My challenge to you is to first get yourself a bit more familiar with R as a language by following along with this notebook.
Once you’ve done that:
- Download the data from that tutorial’s repository and place it in a new folder on your computer.
- In RStudio, create a new project using the
Existing Directoryoption, setting the working directory as the folder you just created. - In a new R script, re-do the tutorial but this time just use the notebook as a guide and do each step in RStudio instead!