If any of the instructions below are unclear, annotate this page with hypothesis while being logged into our course reading group. If you spot someone asking for help and you can offer advice, respond to the annotation.
Read completely through before trying to set things up.
Introduction
Github is a code sharing website often used by digital historians. ‘Git’ is a program that takes snapshots of the current state of a folder, and stores them in sequence, allowing you to revert your changes to an earlier state. It also allows you to create branches, or duplicates of your folder, so you can experiment. If you like the results of your work, you can merge that branch back into your original.
Github therefore is a hub for sharing these git snapshots.
A branch (a copy, a duplicate) of your work uploaded to Github could therefore be copied to say my account (a fork); then I might download to my machine to work on it (I’ve pulled it). Once I’m happy with my changes, I commit them (save them to the sequence of changes that Git tracks), and then I could push those changes to the fork in my account. I would then send you a pull request or notification, asking you to pull my changes back to your account; you could then decide whether or not to merge.
I might sometimes fork your work, pull it down onto my machine, make changes that I commit, push it back online, and ask you to pull the changes back. But that won’t happen very often. It takes a while to get comfortable with this. There’s a lot of useful code, in the cultural heritage informatics space, that gets shared on Github. Knowing the basics enables you to enter this world.
Get your account
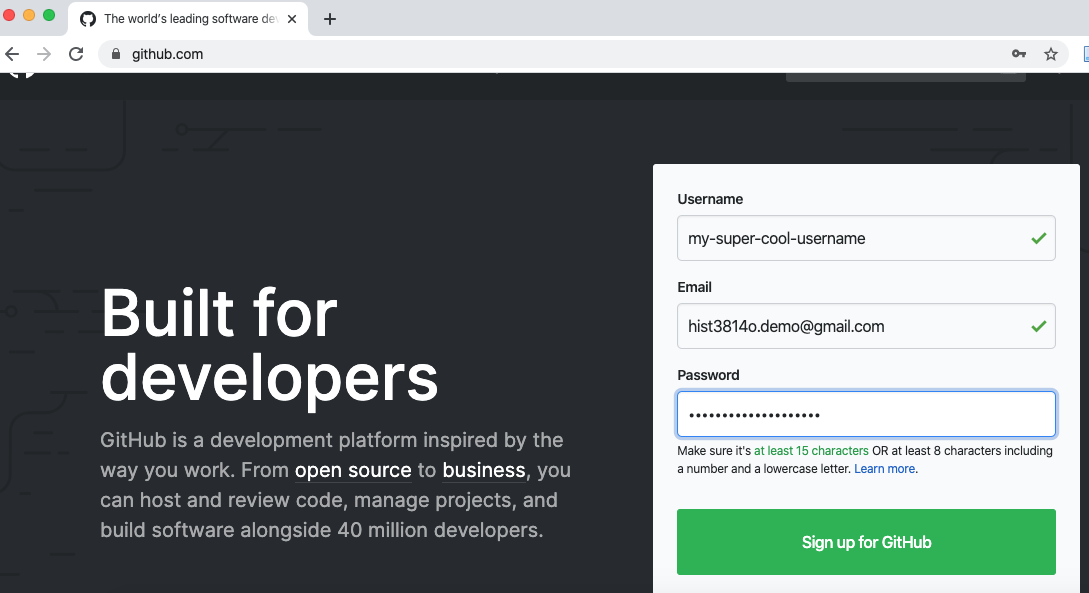
- Got to github.com and sign up for an account. You don’t have to use your real name. (Protip: You might want to set up an email just for signing up for things.)
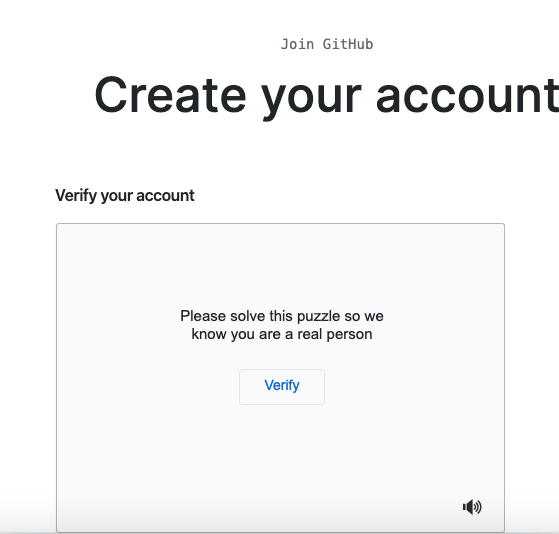
- Verify your account.
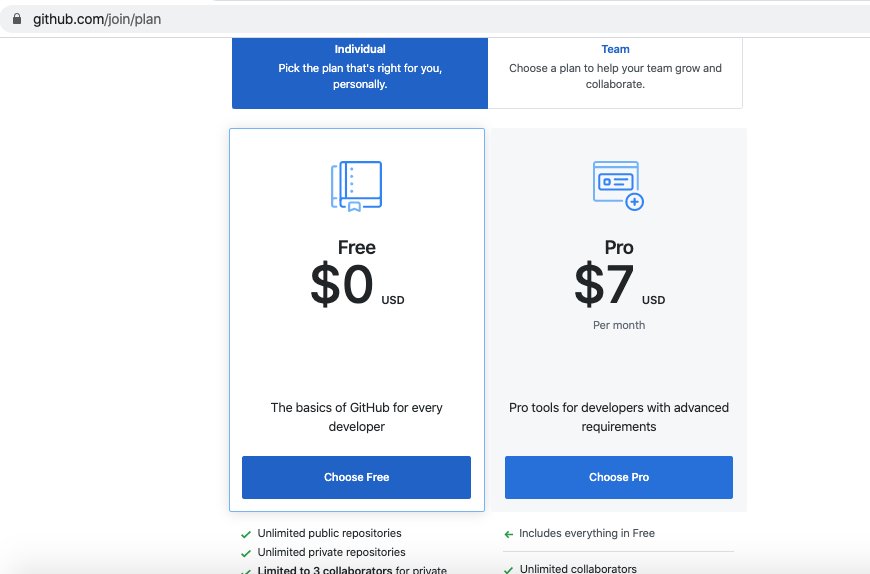
- Select the free tier (nb: I will never require you to pay for any reading, or any software. If something wants you to pay, stop and ask for help).
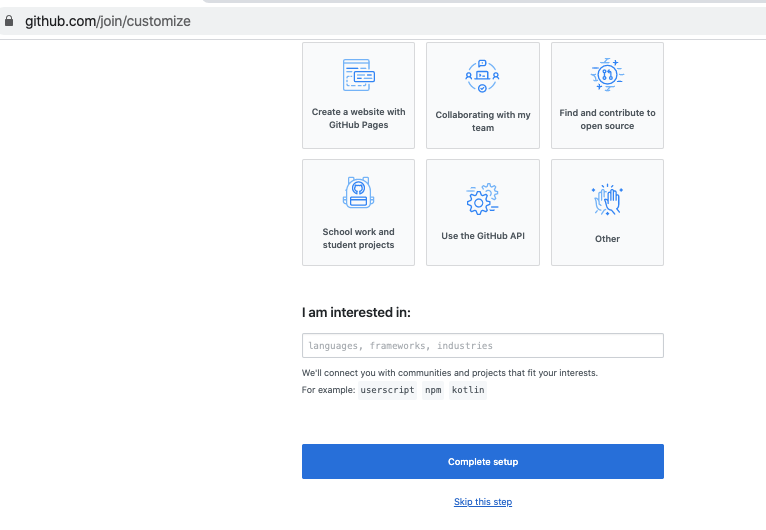
- Skip telling Github anything about yourself.
- Do the verification email thing. Once you hit the verification link in your email, you’ll be brought back to Github to make a new repository:
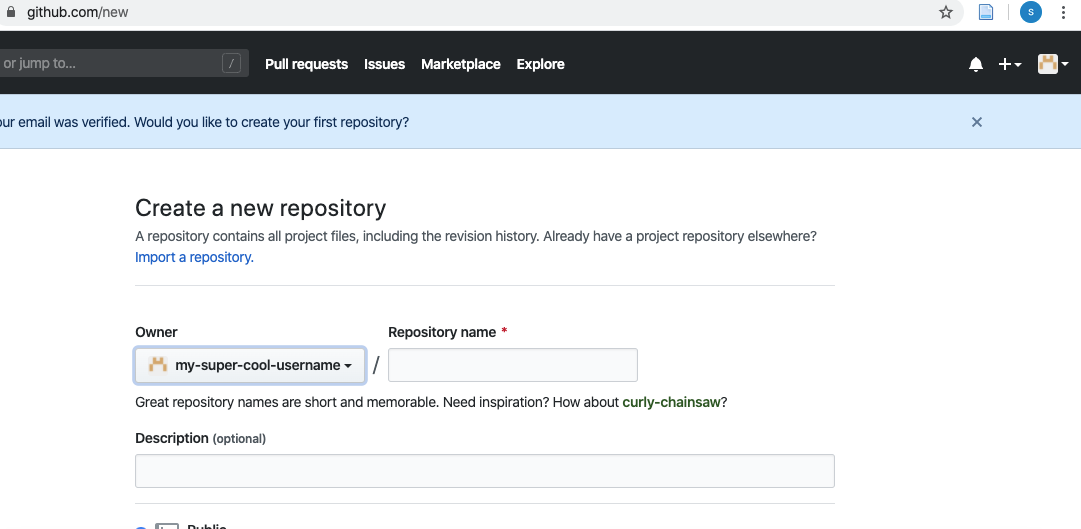
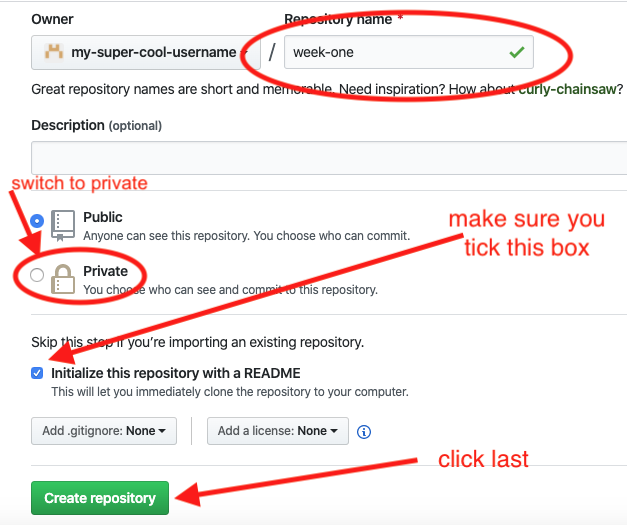
- Give it a reasonable name; below I just called it
week-one. Tick the ‘initialize with a readme’ box, tick off the ‘private’ box, and hit the green commit button. (Nb It’s your choice to choose public OR private):
- And on the final page, hit the ‘dismiss’ button in the ‘Github Actions box’
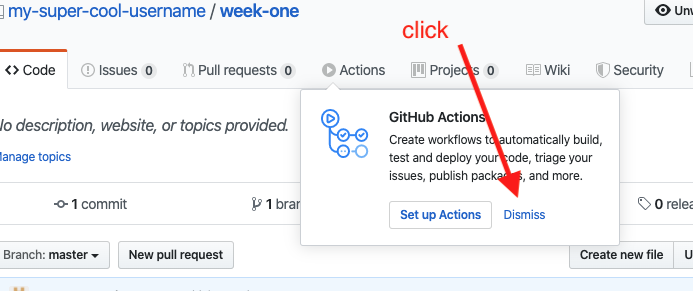
Ta Da! You now have a github account, and you’ve created your first repository. Going Forward you can create a new repository for any week’s work, for a distinct project, and so on. You can create a new repository from the plus sign in the top right corner:
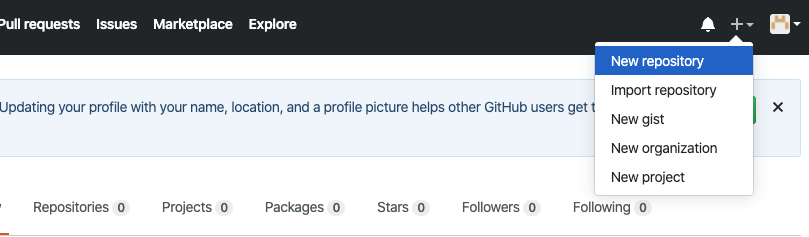
nb Remember to tick off the ‘initialize with a readme.md’ file.
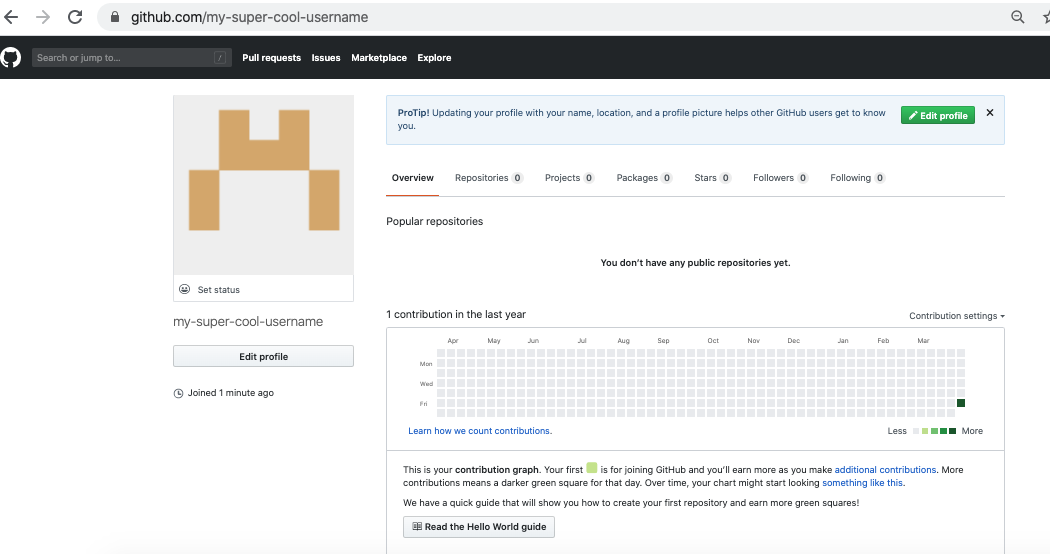
Once you’ve done that, you’ll be at your Github user page:
- Add me as a collaborator to this and any subsequent private repositories you create for this course:
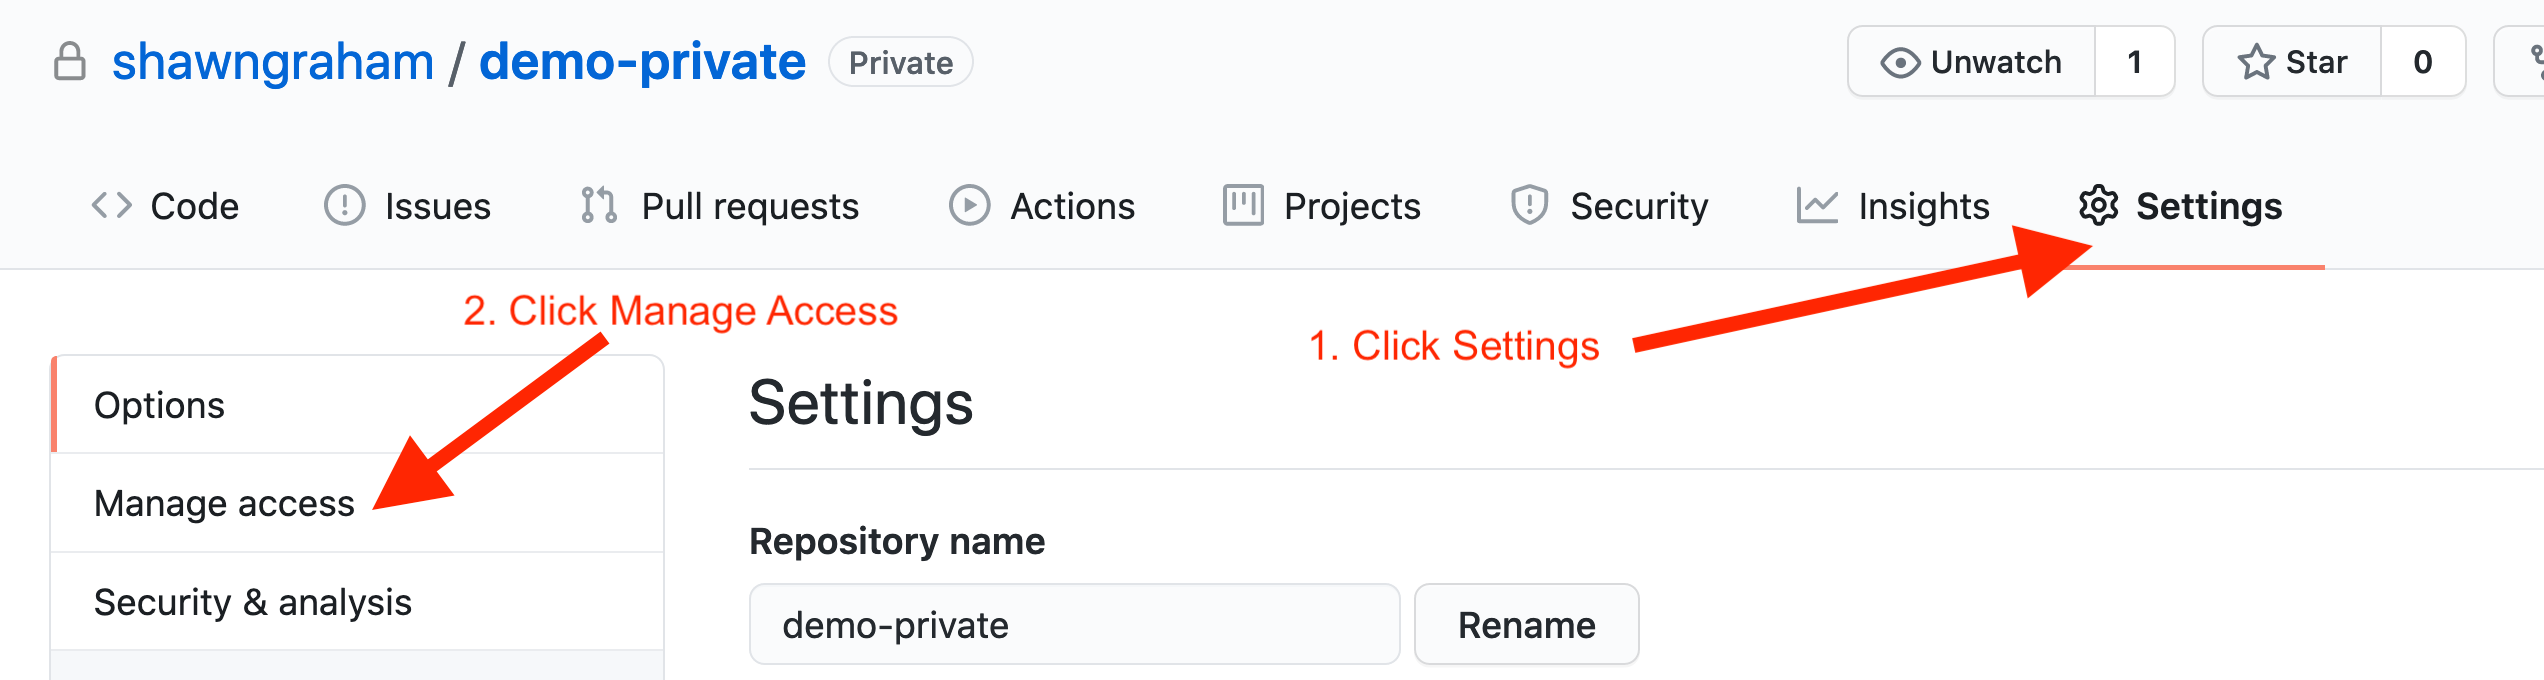
-
Private Repo: Then, once you’ve clicked on ‘manage access’, click on ‘invite collaborator’,
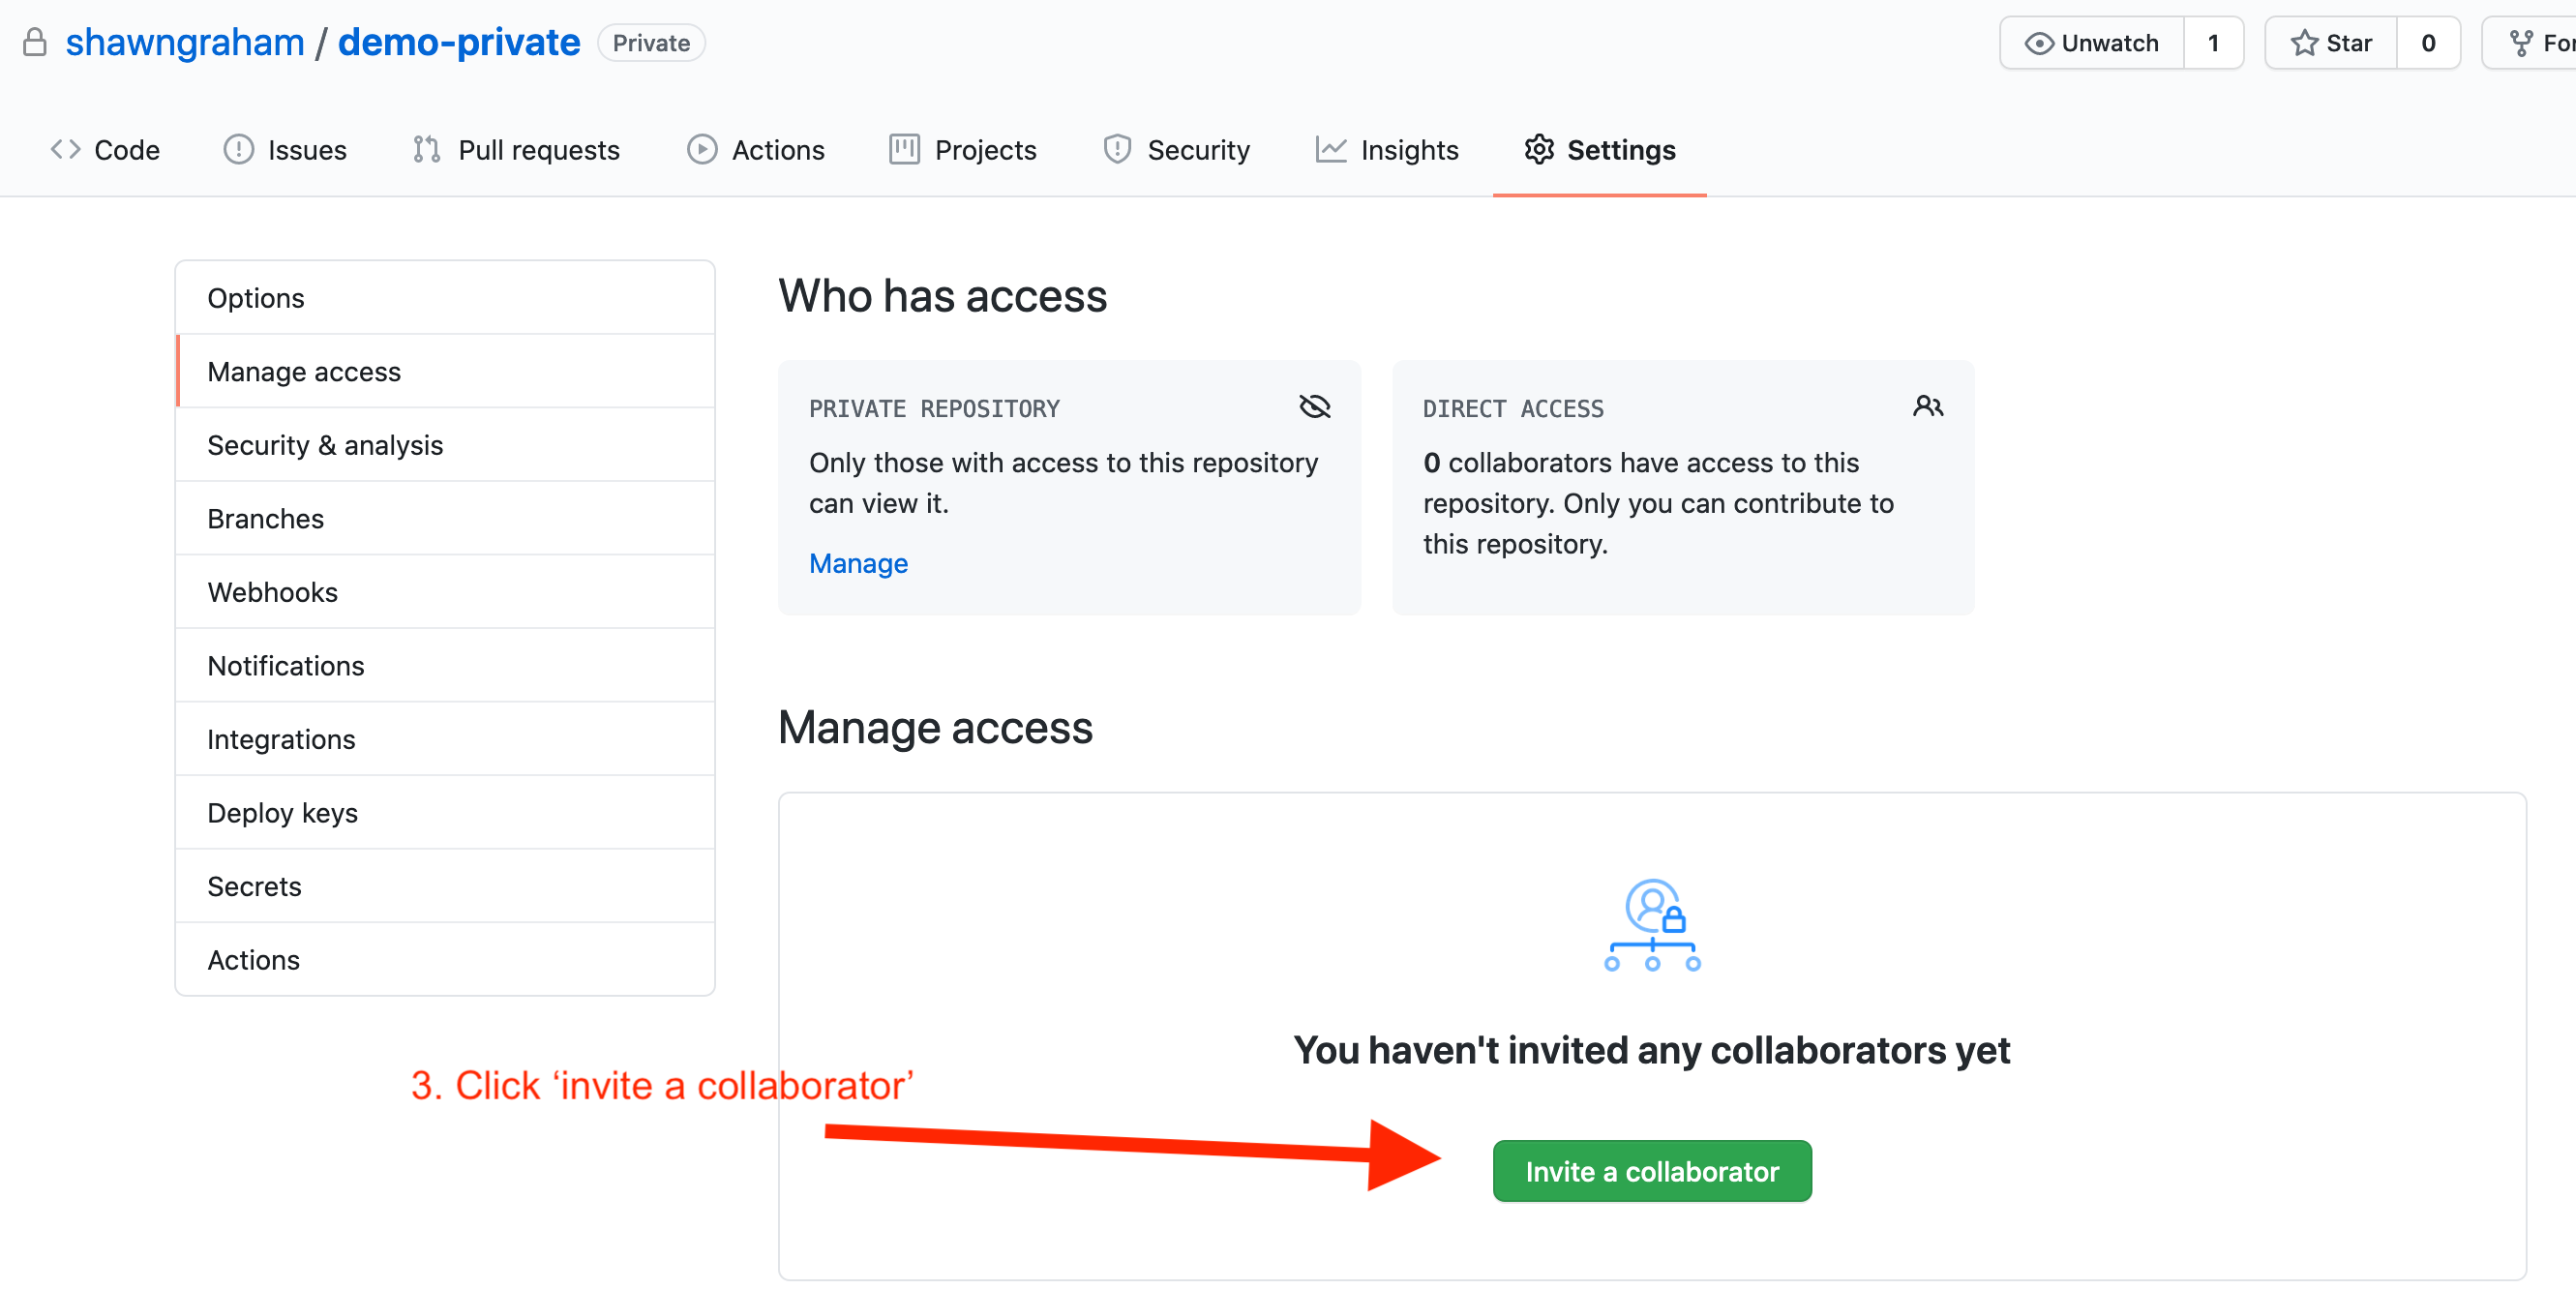
-
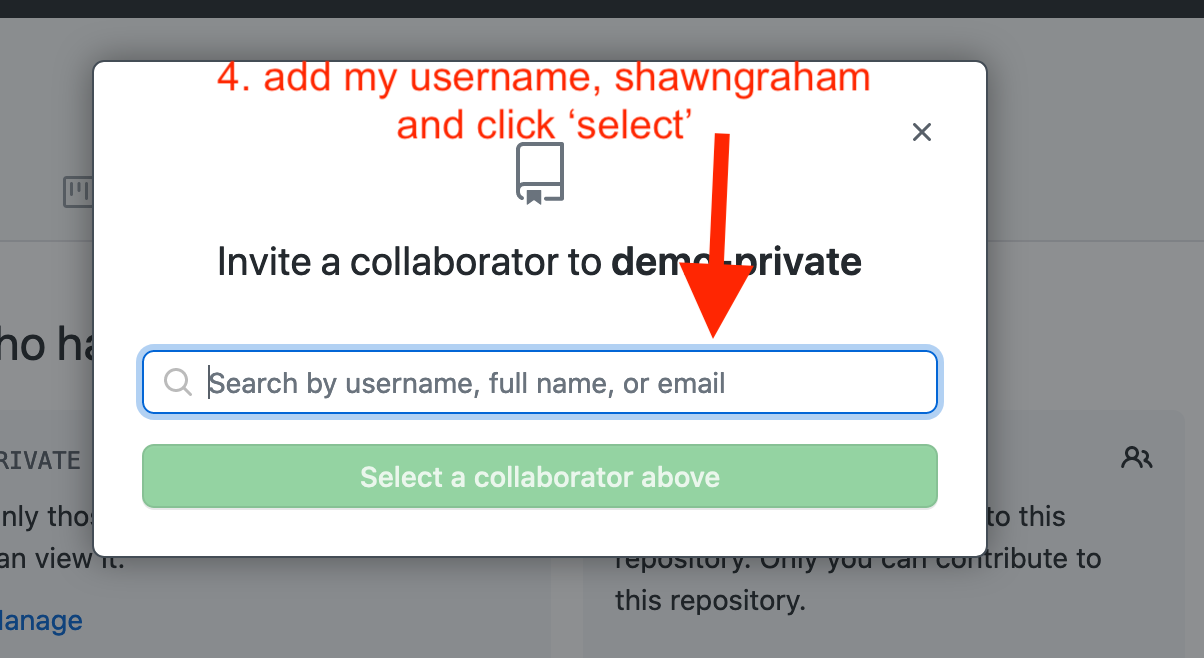
Private Repo: Then find my username
shawngraham, and add me:
Setting up a ‘repository’ for your work
A ‘repository’ is just a folder that you’ve shared on Github. There are two ways to do this; the easy way and the more complex way. Luck you, you have already done the easy way - you selected the initialize with a readme, and it’s already present in your browser!
+ button on the top right of your Github page when you’re logged in. Remember to tick off the initialize with a readme box. Think about whether you want them private or public.But if you didn’t tick the initialize box, you’ve embarked on the more complex way. In the screenshot below, I created a new repository but I forgot to initialize it, and now I’m looking at this page:
If this is you, do not despair.
When you’ve forgotten to initialize a new repo:
You’re going to have to install one or two things, and do some work at the command prompt or terminal.
- If you have a PC, click on this link to download and install git. Just use all of the suggested default settings when you run the installer. If you have a Mac, you can install it by opening the terminal program (click on your applications and type ‘terminal’ in the search window) and then typing in these two commands (or copy and paste). The first command starts at the
/and ends at the"and you must include the entire line from slash to closing quotation mark:
/bin/bash -c "$(curl -fsSL https://raw.githubusercontent.com/Homebrew/install/master/install.sh)"
and when that finishes,
brew install git
- Make a new directory on your computer with the same name as the repo you created above. For my screenshotted example above, that would be
week-two. - On a PC, find the folder in your file explorer; click on it so that’s the folder displayed in the address bar at the top of the explorer. Then, click in the address bar and type
cmdand hit enter. This will open a command prompt window for that folder, allowing you to type commands in directly. On a Mac, go to System Preferences, select Keyboard > Shortcuts > Services. Look for ‘New Terminal at Folder’ and tick the box. Open your finder; find the folder you created, right-click and select ‘open Terminal here’.
A Quick Primer for Working at the Command Line or Terminal
The following two videos, one for PC, one for Mac, show you how to do this. For reference’s sake, this is what ‘working at the command prompt’ or ‘working at the terminal’ look like on your machine. When you interact with your computer, you can do it through a graphical interface - icons, clicks, etc - or you can directly type in commands. It’s this latter kind of interaction that most people think of as ‘coding’, but for us, this is just ‘opening the hood’.
PC:
Mac:
Key commands for PC:
dirshow the contents of the current directoryclsclear the window so that it’s fresh againcd directory-namechange director to the named directorycd ..change directory up one level- if you hit the up or down arrows you can cycle through the history of commands you’ve already typed
Key commands for Mac:
lslist the contents of the current directorypwdprint the path (location) of the current directorycd directory-namechange director to the named directorycd ..change directory up one levelhistoryprints out the entire history of commands you’ve typed this session- up and down arrows will cycle through this list
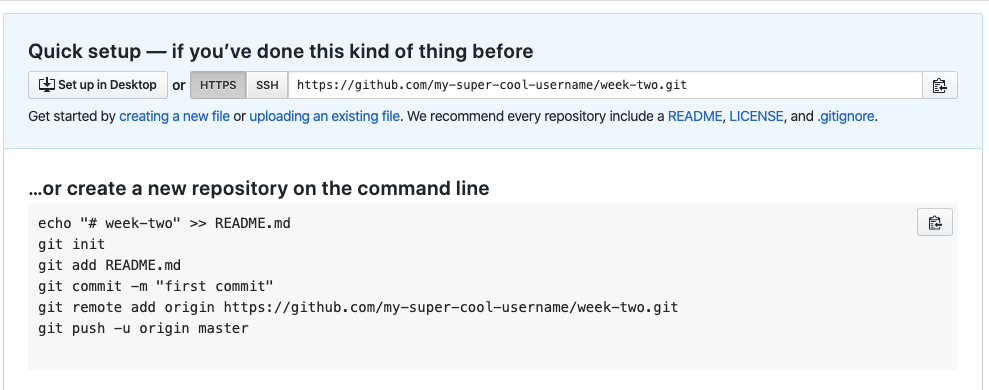
- Do you see where, in your browser at github, it says
...or create a new repository on the command line? With your command prompt or terminal open in the appropriate folder on your machine (remember, folders on your machine = repos on github), type in each line exactly as it is there (beginning withecho), hitting enter at the end of each line, in order. If the command works, you’ll just be presented with the next prompt. The computer only ever responds when there is output to print - which often means only when there is an error message to report. (nb Git might prompt you to enter your email and name, as it does in the PC video, the first time you ever do this).
Ta da! You can now go to github.com\<your-user-name>\your-repo and you’ll see it all there tickety boo.
Making a new text file on Github
You can make a new text file by clicking on the ‘create new file’ button; remember to always use .md as the file extension. You can specify headers, links, images, bullets, blockquotes and so on by using markdown conventions
The two videos below might be a bit clearer on youtube itself.
Uploading a file into Github
You can add new files from your computer by dragging and dropping them into the main repository. At the end of this video, I show you how to display the image in the text of the reflection.